The other day I showed how I used a $10 paint dropcloth from Lowe's for inexpensive curtain panels in my foyer. Today I'll show how you can take the same size dropcloth (6' x 9') and make 6 pillow covers following a super easy tutorial.
I'm not a girl who buys shoes. I buy pillows. The problem is, pillow shopping in Alaska can be a journey of frustration since stores rarely carry patterns in my style, the covers often can't be washed, and the cheap poly-fill inside clumps in no time at all. I have started noticing more down-filled or down alternative pillows locally, but rarely do I find patterns or styles that work in my home. In addition, to order pillow covers online can be $40 or more, and you still need to buy the actual pillow!
Enter paint dropcloth and stencils: My inexpensive, personalized solution to pillows that match my home.
First I started with one of these.
Then, I rounded up some old pillows I knew I would no longer use in my home. The insides were still in good condition.
I left the fabric on the leaf pillows since they did not have an insert, but I cut the frilly green fabric off the other two to prepare them for pillow covers. (I also covered two smaller pillows not shown.)
Following this wonderful tutorial for DIY pillow covers, I spread my dropcloth on the floor and cut out all the fabric. I was able to do six pillows out of one dropcloth. One pair of pillows measured 18" x 19", one pair measured 15" x 15", and the smallest were 13" x 13".
Each short end of the dropcloth was already hemmed, so I used this to my advantage as I planned out my cuts. Because the tutorial above is so thorough, I won't go into more detail here, but my finished covers looked like this (the hem you see was already on the dropcloth):
In less than 1.5 hours, I had sewn 6 pillow covers.
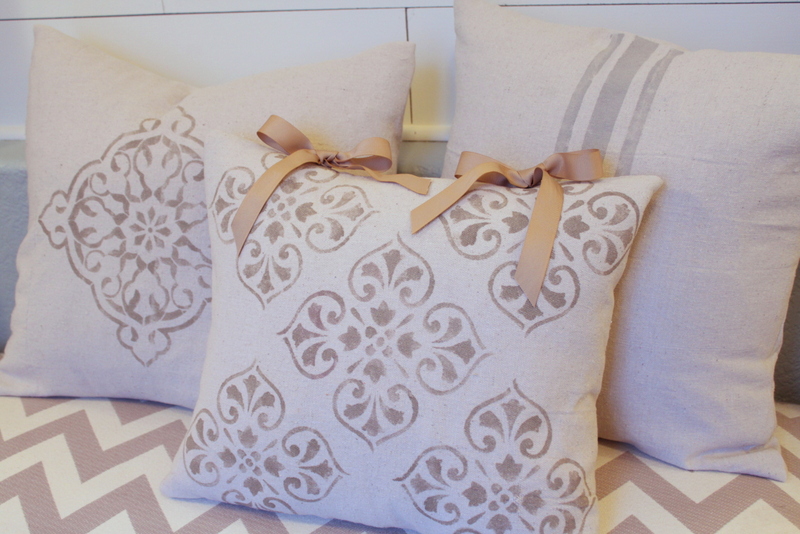
Next, I was ready to decide how to style them. On the smallest pair, I opted for a small stencil pattern all over the front. I used a stencil that I already owned, a taupe-colored acrylic paint, then mixed a Martha Steward Fabric Medium into the paint prior to stenciling. You can find this Medium at Michael's and it lasts forever.
I did not measure the spacing of my stencils, nor did I tape it down as I worked...I just eye balled it. However, I think taping and measuring are grand ideas. I usually just dive in.
When this pillow cover was done, it seemed to be missing something. Rummaging through my ribbon stash, I found a taupe-colored grosgrain ribbon and had an idea. Turning my cover inside out again, I pick-stitched two holes in one side to fit in some ribbon, then sewed everything closed again.
This looked much more finished to me.
I used tape to mark out faux grainsack stripes on my middle-sized pillows, then painted them with SW Mindful Gray mixed with the Medium again.
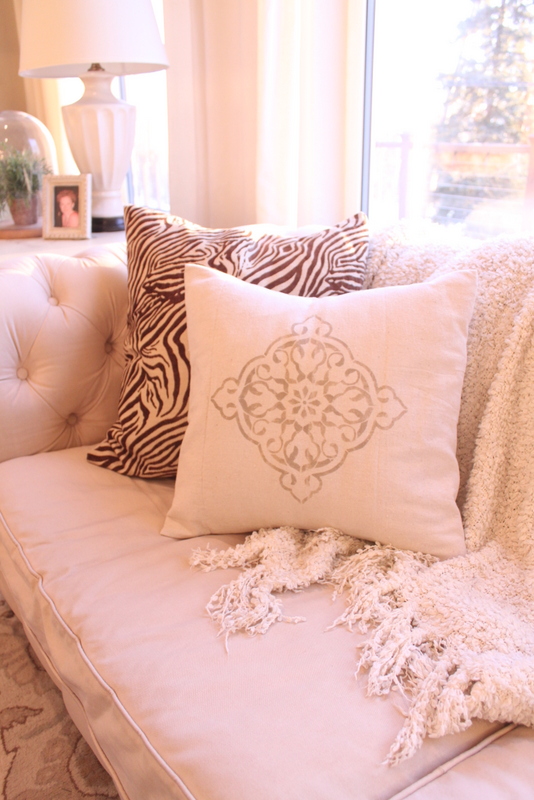
For the final pair of covers, my largest ones, I used a large stencil from JoAnne's and with the same acrylic paint color as the first pair. This time, though, I painted only one stencil pattern right in the middle. Without measuring. Without taping. But that's me.
The end result is three pairs of beautiful, neutral pillow covers I can change out or wash when needed. The only items I had to buy for this project was the dropcloth ($10) and the large stencil ($11.99, but I used a 40% coupon). The other supplies I had on hand.
I made the chocolate and ivory zebra-print covers a year ago while my daughter and I watched Christmas with the Cranks. It was fun to pull them out again this winter and remember how much I still liked them.
I plan to spray a couple light coats of Scotch Guard on the dropcloth covers to protect them from daily use, and will wash them on my gentle cycle, cold, when needed.
A great use of dropcloth, and a fun way to personalize your home ~
Labels: dropcloth, Painting, Pillows, Sewing