But I can't. Because my genius is not this good most of the time. So I'll do the right thing and give a shout-out to The Little Brown House for inspiring me on this one.
I needed art, I needed it now, and I needed it free. What to do?
Well, I scavenged around my house and found some frames I had hung in our school room but haven't been totally happy with since they don't match the other decor in this room and they don't have mattes in them. (As most of you have probably known for centuries and I'm either a slow or reluctant learner, mattes go a long way in making a picture frame look more polished). I stole four of them.

I then painted them my current favorite green, Farrow and Ball's Cooking Apple Green, distressed them rather heavily, rubbed on a Minwax Walnut Stain, and quickly wiped it off. The repurposed (and much cuter) frames then looked like this:

Lo and behold, in my crazy pink under-the-stairs closet stash of picture frames and artwork yet to be hung, I just happened to have four off-white mattes in the 11x14 size I needed. Woohoo!! I love it when that happens.
Next, I took an old painter's drop cloth I had in my fabric stash (these things are about $11 dollars apiece and are amazing for many things beyond paint splatters) and I cut it to fit four 8 1/2 x 11" pieces of cardstock. I then used spray-on craft glue to attach the now paper-size pieces of dropcloth to the four pieces of cardstock:
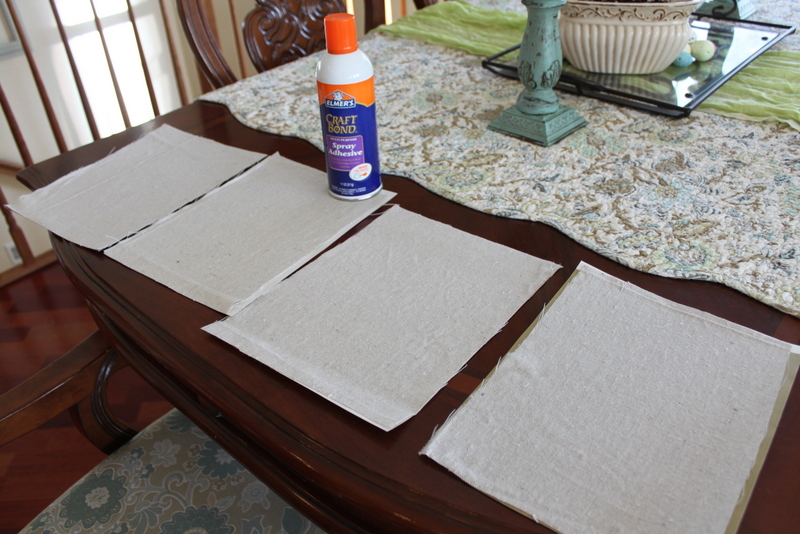
I didn't worry about being very exact, knowing the opening in the matte was 8 x 10 so I could fudge a little bit. I also thought my printer might respond better to a paper edge than a fabric one. And no, I did not spray the glue on top of my dining room table. I hadn't planned on blogging about this until I was spraying the cardstock in the garage, so I ran back upstairs to snap a picture of this stage.

Next, I visited the Graphics Fairy to find some pictures of plants, fruit, butterflies, etc. I wasn't picky really....I just needed some pretty graphics in black and white, preferably four similar images, to print and frame. I found a clover, a pear, an apple, and some other pretty looking plant I didn't recognize. But it fit my theme, so we were a go.
One by one, I loaded the dropcloth-glued cardstock into my printer and one by one, printed each image onto the fabric.
I was so nervous I would ruin my printer, or that the ink would smear all over the dropcloth, or that this method was simply too good to be true....but it was TRUE! Printers can actually print with real ink onto real fabric! Even my daughter let out a little squeal when the image began to appear and we both saw how amazing it looked. Check this out:

Isn't that beautiful? The varied shades of black and gray on a burlap-like background? I couldn't believe I had just created this artwork in my very own home by my very own self.
Here's what they look like hung on the wall:

I even left a wrinkle in the pear's fabric to add a little character. Or at least that's what I tell myself when in actuality I was too excited to try printing so I didn't bother to patiently iron the fabric first.


I am so tickled with how these turned out, and how pretty they look on my wall ~ but most of all I'm tickled with how easy and absolutely FREE they were to create. What a fun project, and what potential this presents for the future of my printer :)
I've also graced our dining room table with a little Easter decor this week, scattering a few pastel eggs around,

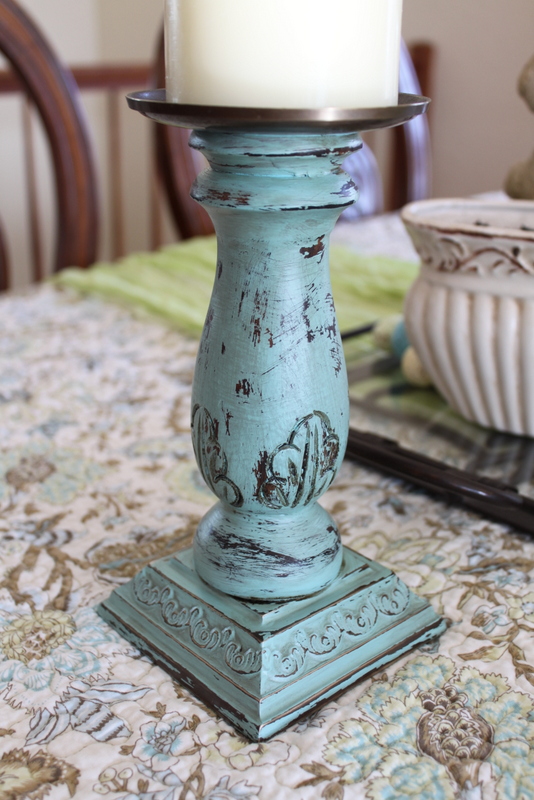
and transforming two of my old candlesticks with a little Embellished Blue Paint.
We planted actual grass seed in the white planter and just this morning saw little green sprouts forcing their way up through the surface of the soil. I'm sure they'll grow like crazy over this next week; I may have to get out the mower come Friday. Spring has officially arrived, if only on our dining room table. There is still a TON of snow outside.
Blessings on your week~
Jaimee
Ha! I laughed out loud about the wrinkle on the pear because you didn't have the patience to iron. That is sooo me! Beautiful job, sis. You've inspired me to go home and plant some grass seed in a planter for an additional touch of spring.
ReplyDelete